...
During the installation you will prompt that the Merging RAVENNA Audio Device hasn’t been notarized or is from an unidentified developer.
Open the System Preferences > Security & Privacy, when asked.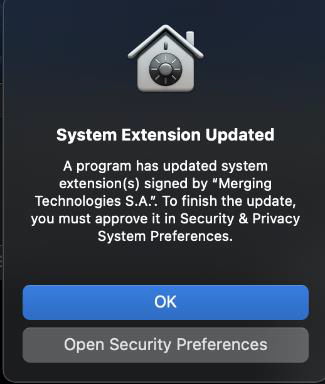

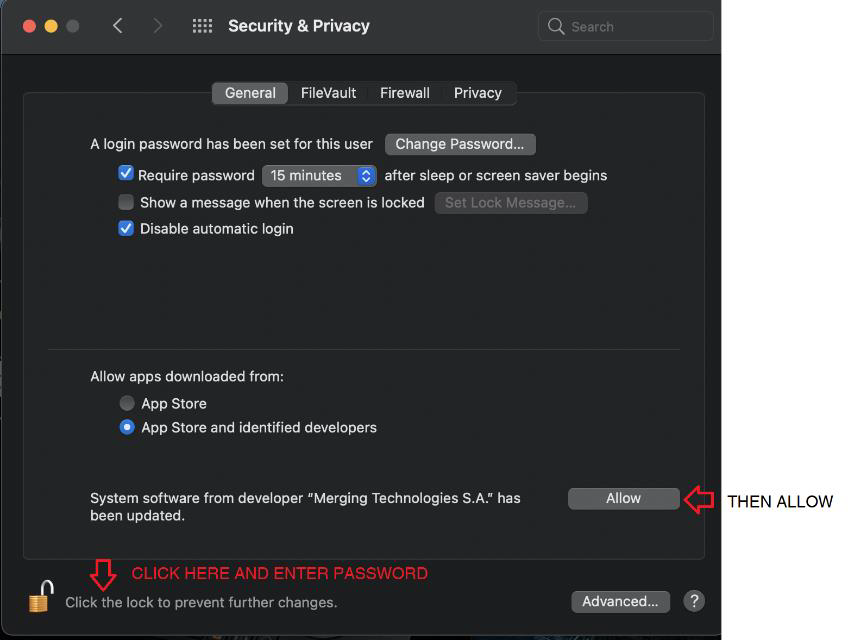
Click on the Lock to enter you password and then press the Open Anyway entry to confirm your intent to open or install the app.

You should be prompt to enable your Mac system extensions
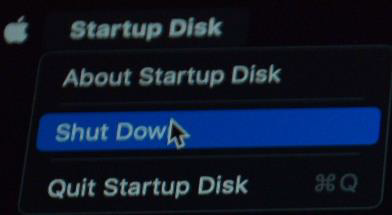
Click on Shutdown
This procedure will apply the first time you install an application requiring Reduced Security.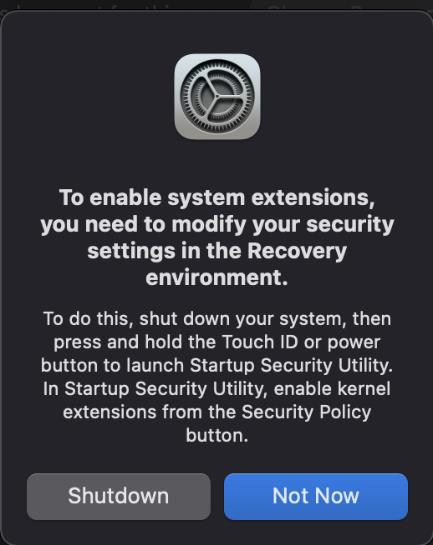

Press the Mac power button until you see a black screen
Select the drive where you have installed the VAD to boot on
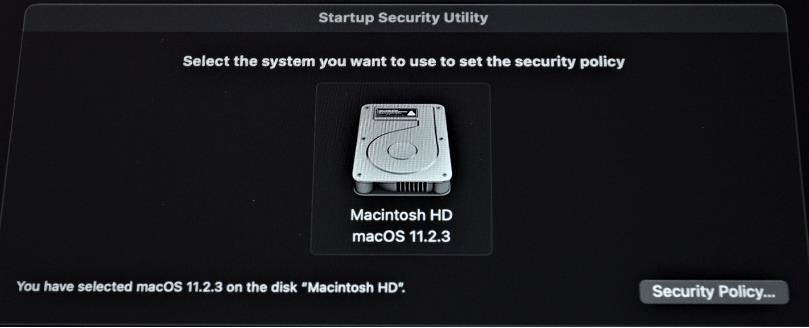

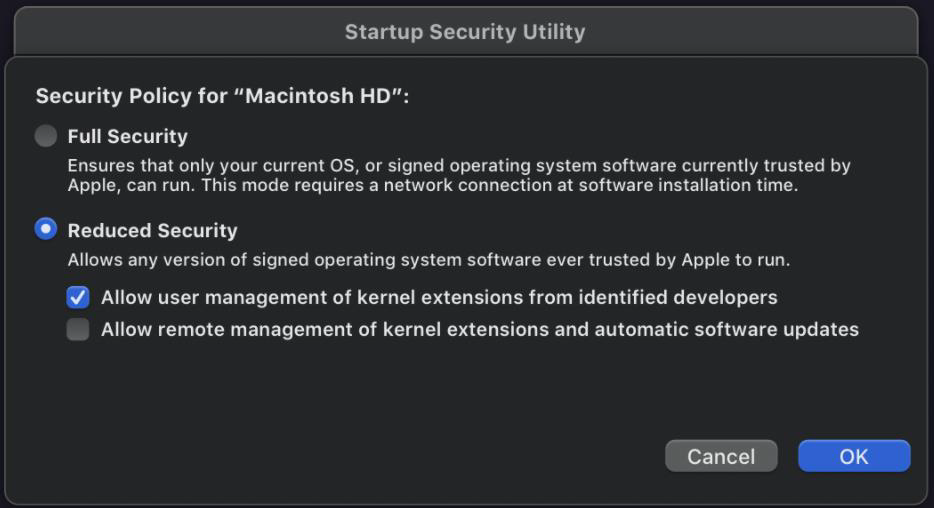
Select “Reduced Security” and check the first option, do not select Full security.

Type in your password.
Shutdown your mac from the top left menu
After restarting your mac normally, open the system preferences and go to “Security & Privacy”

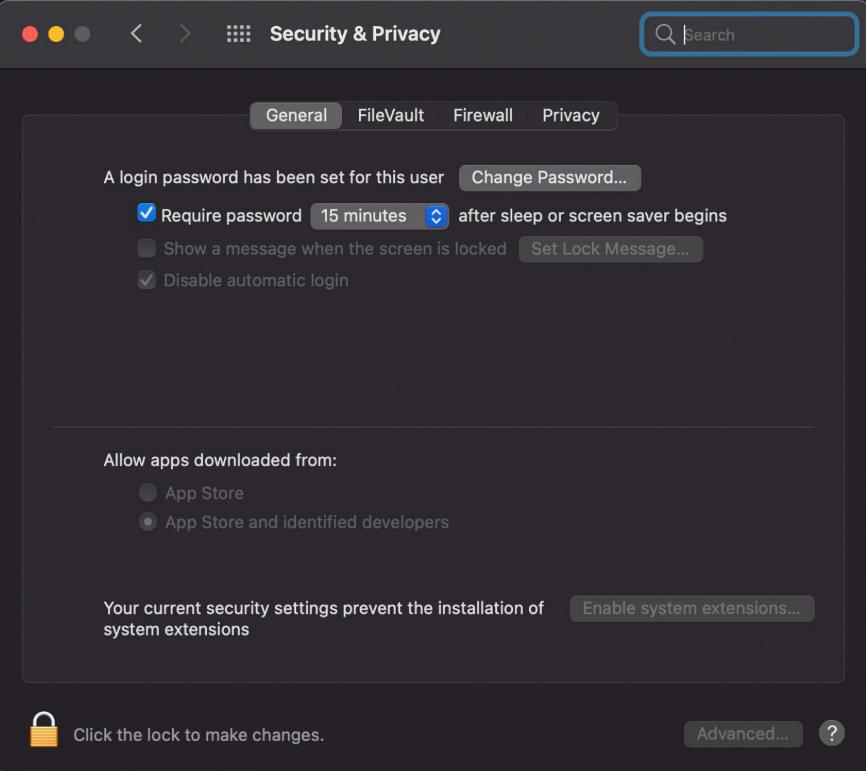
Click the Lock symbol, entre your password and press the “Allow” Button.
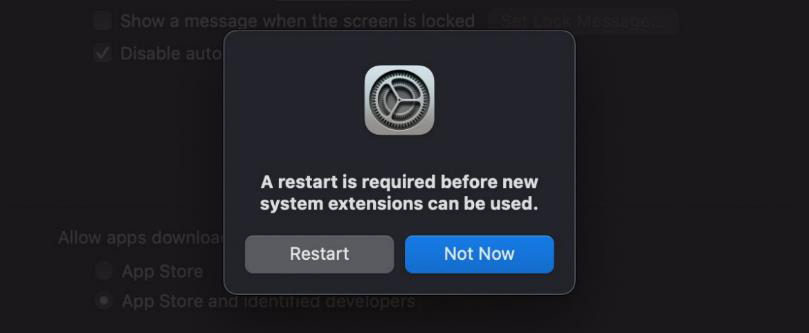
You will be asked to restart your mac one more time. Hit the restart button

The MERGING VAD should now be installed and running.
Its panel can be opened from the System Preferences.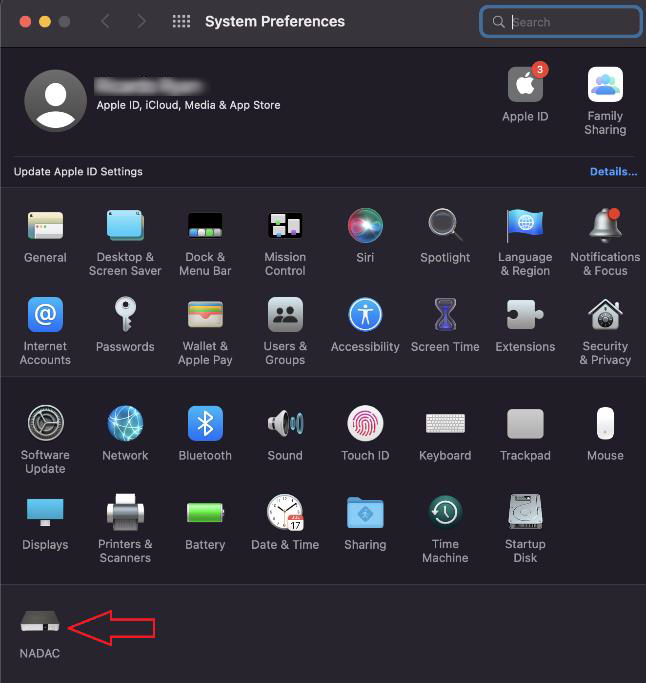
| Note |
|---|
IMPORTANT: If the Driver is not well authorized a warning should be displayed on the Driver VAD Panel. |

