Windows - Backup and Restore Windows System Image.
Several solution exists to backup and restore your Windows installation.
The Built-in Backup and Recovery feature is an easy solution to create a system image, that can be restored in case of a Windows corruption or failure.
Create a Windows System Image - Backup
- Go in Windows Device Manager > Backup and Restore
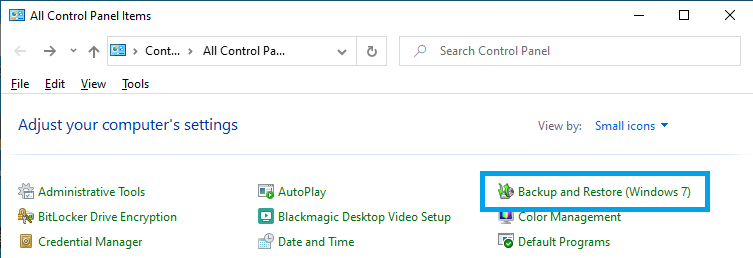
- Select Create a system image on the left pane.
You will then be prompted to select a location (which of course can't be the system drive)
- Click on Start Backup.
During the backup / system image operation, you can continue to use your system. - When the System Image creation is finished, Windows will ask you if you want to create a System Repair Disc.
You can create such Disc (DVD burner required), but it is not mandatory, you can restore the System Image with other methods.
Please note that the System Image is not dynamic, any new program installed or change to the system will not be saved automatically in the System Image; you have to manually create a new System Image.
Restore a Windows System Image
How to restore your System Image.
If Windows can start
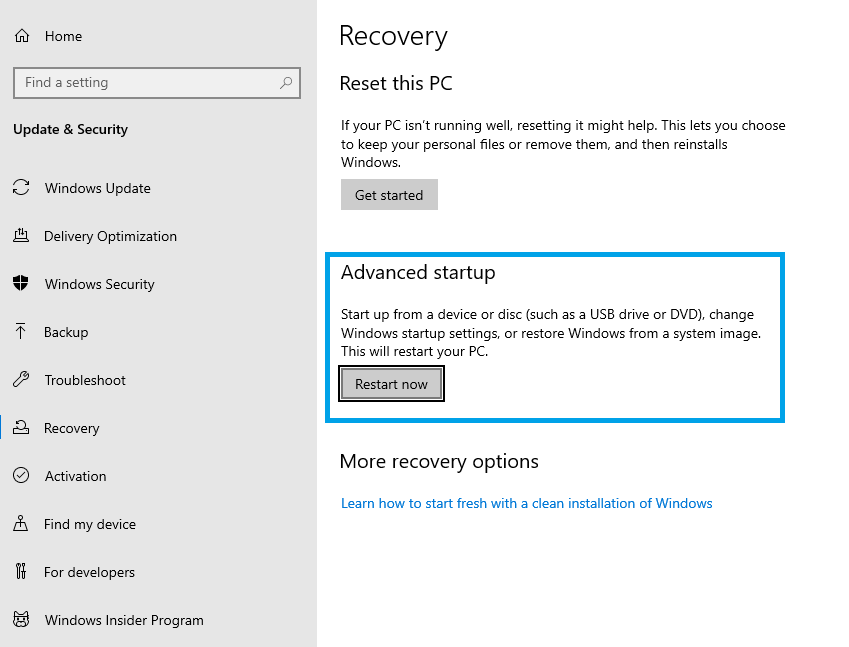
- Open up the Windows 10 Settings menu and go to Update & recovery.
(On Windows 7, browse to Control Panel > Recovery and click on Advanced Recovery methods) - Select Recovery on the left pane, then in the Advanced startup section, and click Restart now.
- When your PC restarts, select Troubleshoot > Advanced Options > System Image Recovery.
If Windows can start, but you cannot log on your account or can't access Windows Settings
Windows 10 only.
- Press & Hold the Shift key
- Click Restart to restart the computer

- When your PC restarts, select Troubleshoot > Advanced Options > System Image Recovery.
If Windows do not start
- Start the computer with your System Repair Disc (if you did create one) or the Windows Installation Media (Bootable USB or DVD).
You may need to change your system's BIOS settings to make sure it can boot from the DVD or USB drive by hitting "Delete/F2". - When the Windows Setup window appears, click Next, then Repair your computer in the bottom-left corner.
- Select Troubleshoot > System Image Recovery
System Image Recovery
- If prompted, select a user account with Administrator rights and enter the password.
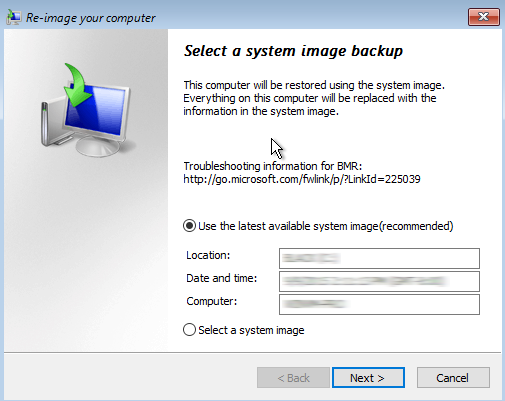
- If the drive which hosts your System Image is available, Windows will automatically propose the latest System Image available
(you can click on Select a system image to browse for another system image. - Once the required System image is selected, click on Next.
- On the additional restore options window, tick the Format And Repartition Disks check box.
If you're restoring to a new hard disk, the Format And Repartition Disks check box will be selected by default and will be unavailable.
If that is the case, there is nothing to worry about as long as the new hard disk is of the same or greater capacity than the old one.
Click on Next.
- Review the re-image information and click on Finish if correct.
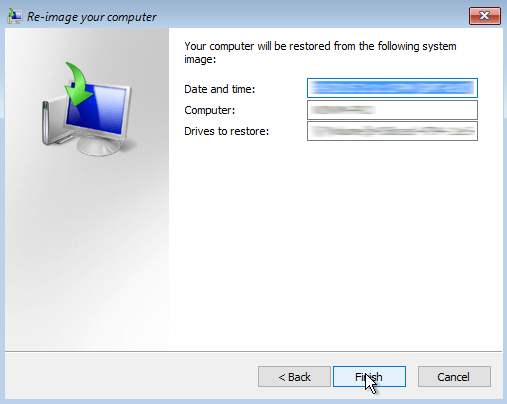
Windows will now re-image the drive.
Please note that you can restore the System to another drive, but the disk size have to be the same or greater then the old one.
MassCore users with RTX64 license hosted on the hard drive, that are not using the separate RTX dongle (SSK-HUD-RTX) will have to renew their license.
Please contact support@merging.com and provide your Merging dongle serial number in such case.