Cisco CBS350-8 Auto-configuration.
General Info.
This is in no case an exhaustive configuration procedure, It's a simple guide on how to configure these switches to use them with Ravenna/AES67 networks.
This guide applies to CBS350-8T-E-2G and CBS350-8P-E-2G / CBS350-8P-2G
Before Starting
Important! If you have problems accessing the switch for configuration when connected to the Merging MassCore PCIe Ethernet card (NET-MSC-GBEX1) please connect it to the PC’s on-board Ethernet port. When configuration is completed reconnect the switch to the MassCore Ethernet card.
Connecting several Cisco switches together requires additional configuration.
Please also see the Multiple network switches considerations page and Cisco Multiple switches configuration guide.
Dante-AES67 devices requires an additional configuration, not included in the configuration files.
See the Dante devices Multicast Group configuration page for details
Cisco CBS350 Switch Auto-configuration Procedure
Note: For Cisco CBS350 Switches other than the CBS350-8T/P-E-2G/P-2G please use the manual configuration procedure.
- Plug a network cable from the switch and to your computer.
The switch will need to initialize, this will take a few minutes before being accessible. Set your computer to use an IP in the 192.168.1.x address pool.
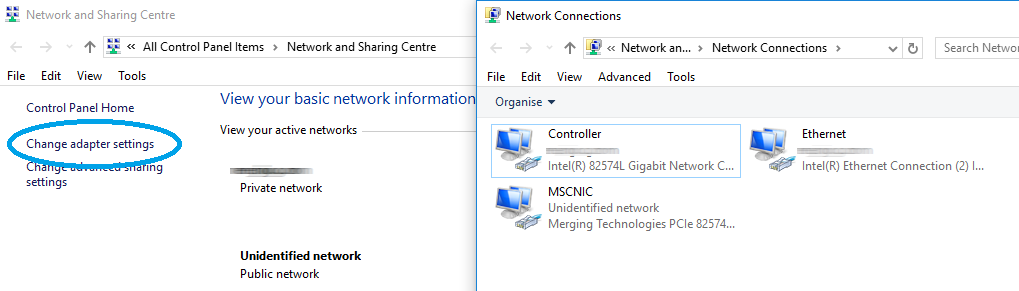
Go in Windows Control Panel > Network and Sharing Center, then click on Change Adapter settings (left)
Right click on the adapter that you have to configure and select Properties.
Select the Internet Protocol Version 4 (TCP/IP), then click on the Properties button.
Set it to "Use the following IP addresses", then enter the IP address. It must be in the same range as the Cisco switch connected on it, for example : adapter IP is 192.168.1.1
The Subnet mask is mandatory; Windows can set it automatically, simply click in the Subnet mask field.
You may need to also change the attached network device(s) IP address, consult their documentation for details.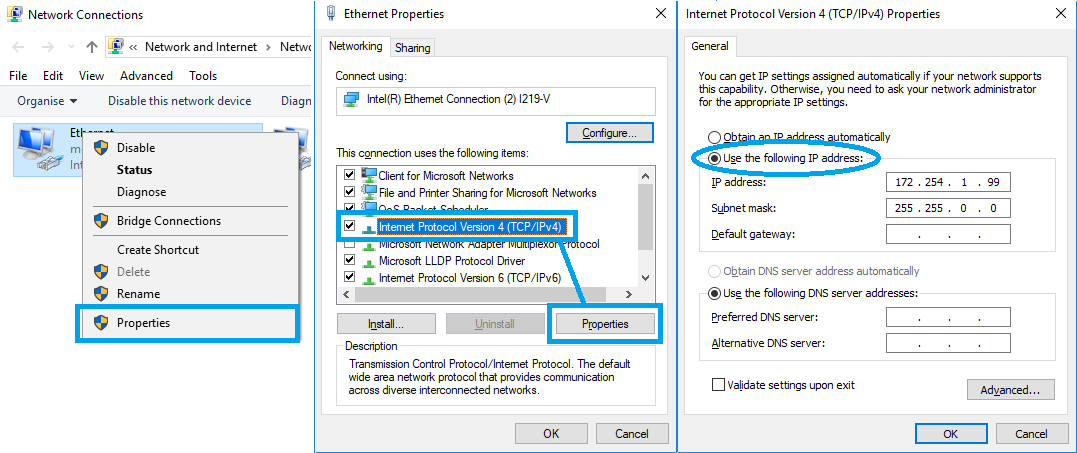
Go in the System Preferences and select Network.
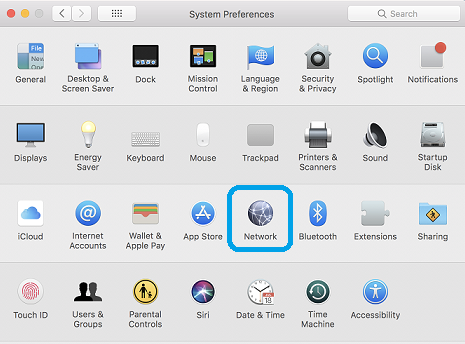
Select the adapter that needs to be configured, and click on the arrow next to Configure IPv4.
Select Manually in the drop down list, and enter the required IP address.
It must be in the same range as the Cisco switch connected on it, for example : adapter IP is 192.168.1.1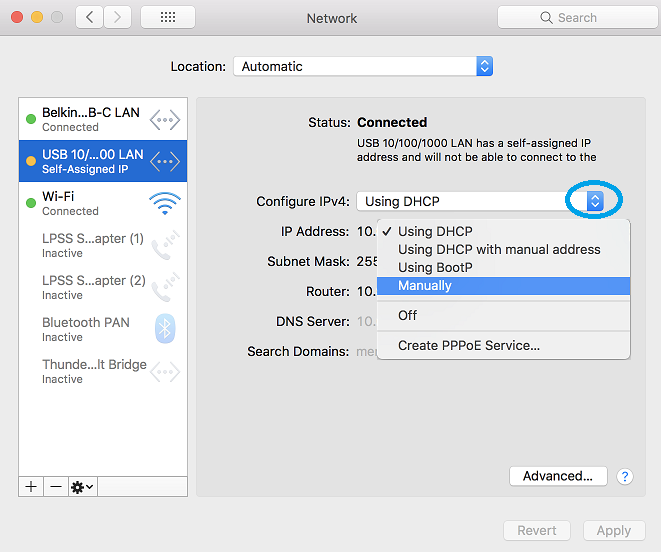
The Subnet mask is mandatory; MacOS can set it automatically, simply click in the Subnet mask field.
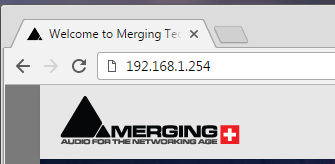
Open a navigator page to navigate to http://192.168.1.254 (Cisco switches default IP address)
Default user name: cisco Default password: cisco
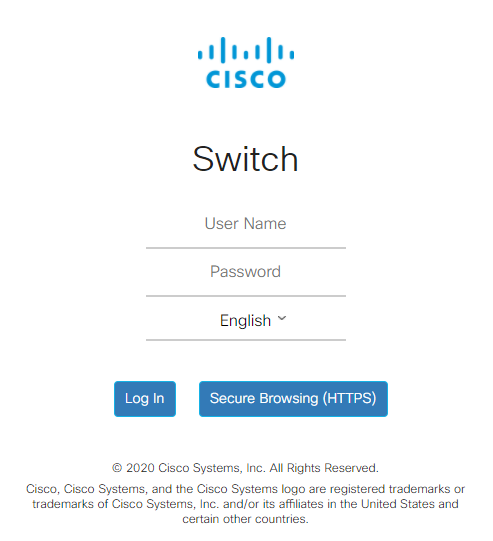
After the login prompt, you will be asked to set your own password.
Please note the minimum character numbers and password complexity required.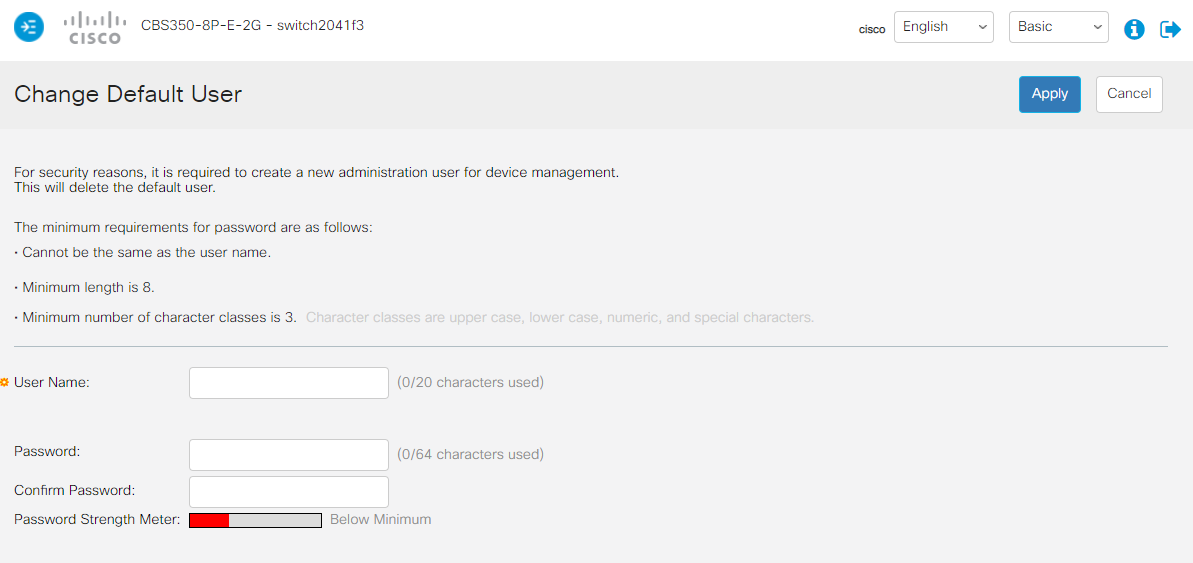
If you wish to change the password later, you will have to go in the Administration > User Accounts page.
Resetting the switch to "factory defaults" will also require to do this step again.- For ease of use, please activate the side bar by clicking on the blue icon on the top left corner.
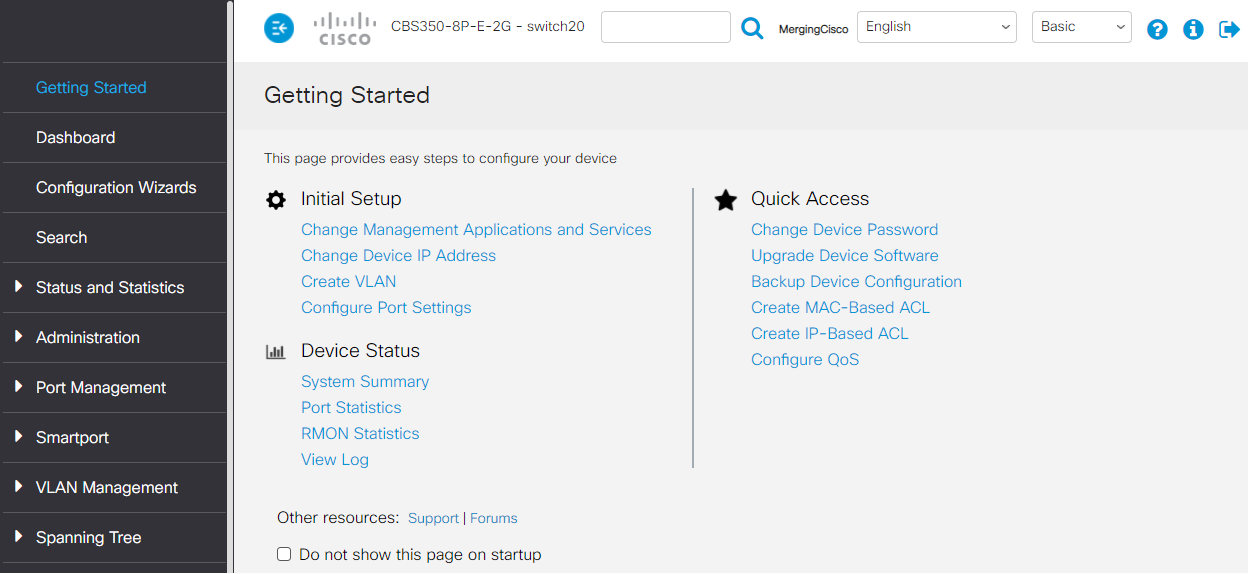
The Administration page will now load and you can start configuring your switch.
Download the latest configuration file for your Cisco CBS 350 switch model :
The Merging RAVENNA configuration file will auto-configure various settings /protocols to optimize the RAVENNA / AES67 network, and also sets the definitive fixed IP address of the switch: 169.254.1.254)Go to Administration > File Management.
Select File Operations.- Operation Type : Update File
Destination File Type : Startup Configuration
Copy Method : HTTP/HTTPS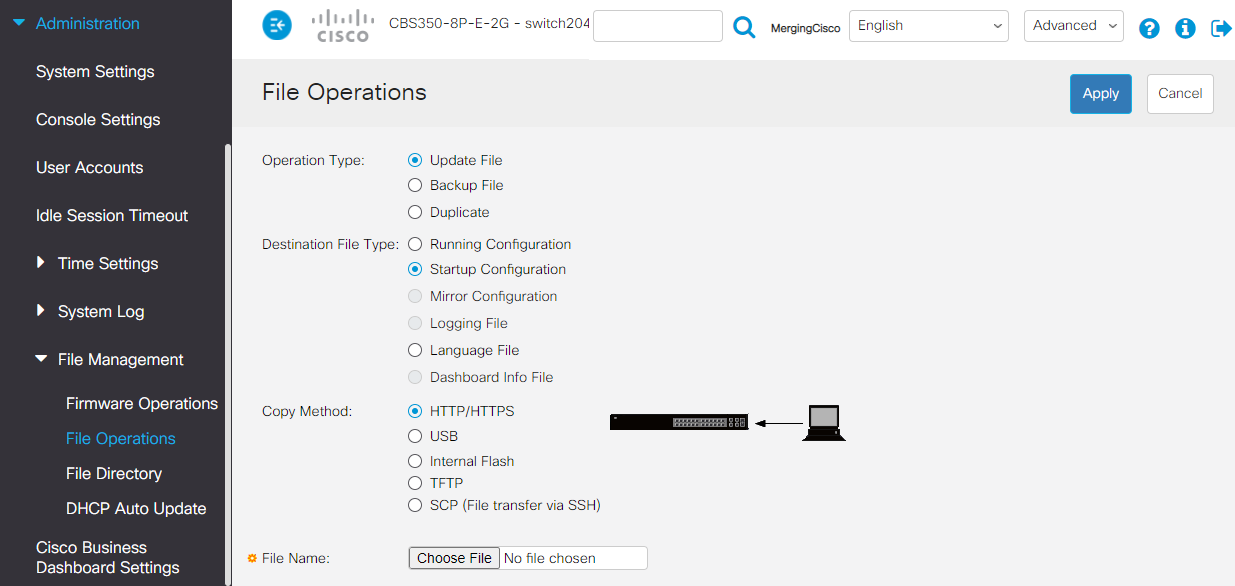
- Now click on Choose File and in the choose file window, browse to the configuration file you want to import.
Select the configuration file and click on Open. - Back in the main window, click on Apply to load your configuration file into the Startup Configuration.
Once imported, the switch will send a notification that the operation has been completed.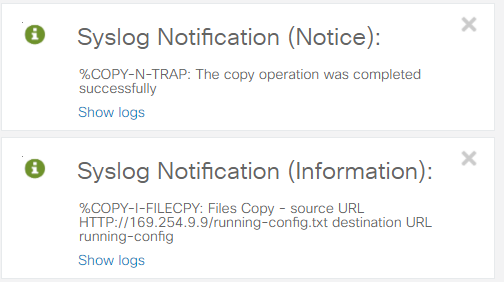
- You must now restart the switch for the changes to apply.
Click Administration > Reboot
Select Immediate and click on Reboot button.
Note that the device might take some time to reboot.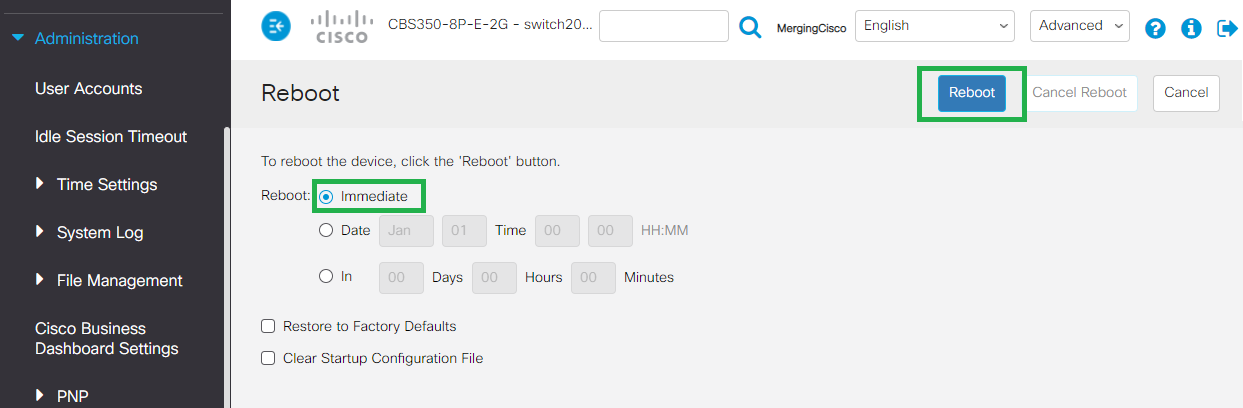
- The switch will now change its IP address to 169.254.1.254, therefore the 192.168.1.254 page you are actually using will stop responding.
To be able to access the switch now, please set your computer to use an IP in the 169.254.x.x address pool.
Refer to the "How to manually setup an IP address" above, but this time, set your network adapter to automatically obtain an IP address (Windows) - Using DHCP (MacOS) - The switch is now configured and ready to use, and the Merging RAVENNA Network Card should have auto-configured itself with an IP in the 169.254.x.x range.
You can now log in and set your own user name and/or password in Administration > User Accounts.
Please note that any changes requires you to click on Apply and that you then have to go in Administration > File Management > File Operations to properly save the changes (Duplicate from the Running Configuration to the Startup Configuration)
SSM - IGMP V3
The configuration files are set to use IGMP v2. If you plan to use SSM (Source-Specific Multicast - see Merging devices Advanced pages), you will have to activate IGMP v3 manually.
Please see the CBS350 Manual configuration