...
| Tip | ||||
|---|---|---|---|---|
| ||||
| Pyramix version 11.1 or above required Izotope RX7 |
| Table of Contents |
|---|
Edit audio from Pyramix FX Rendering tab in RX Audio Editor
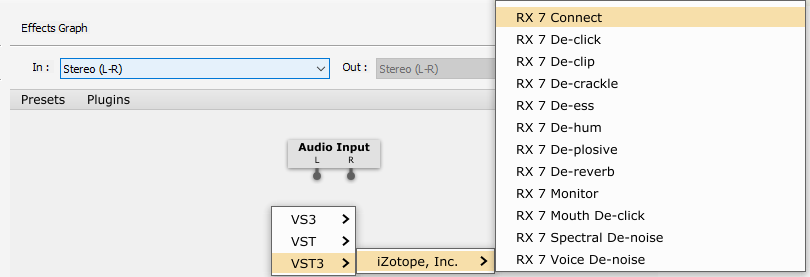
- In the FX Rendering tab, right click in the Effects Graph zone.
If the FX Rendering tab is not displayed, it can be accessed through View > Editor Tabs > FX Rendering. - Select VST3 > Izotope, Inc. > RX 7 Connect
- Configure the Audio Input.
Default is Stereo. Click on the drop down menu to select another input layout, otherwise go to step 5.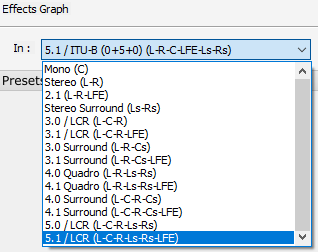
- Right click on the RX Connect node and select Configure Audio I/O
Default is Stereo. Click on the Channel Layout drop down menu to select another layout.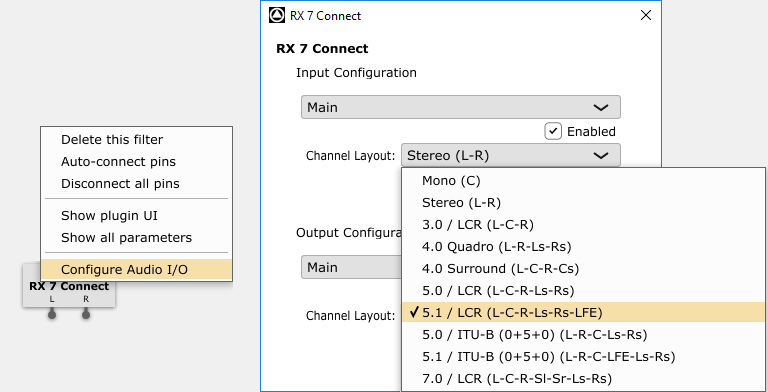
- Right click on the RX Connect node and this time select Auto-connect pins
You may also manually connect the pins between RX Connect and the inputs / outputs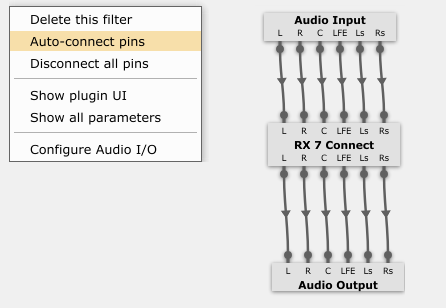
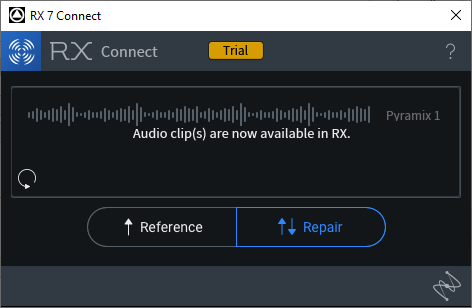
- Double click on the RX Connect node to open its UI and set it to Repair mode.
- Select a clip in the Pyramix timeline. Remember that RX can handle up to 8 tracks *
- Configure the Processing according to your needs; Process clips individually / Process the whole region (see Pyramix user manual for further details)
- Press on Render
The audio is now transferred in Izotope RX application - Edit your file in RX.
- When finished, click on Send Back in RX.

- Back in Pyramix, click on Render to get the processed file in Pyramix timeline.
...