/
Configure JRIVER with MERGING+NADAC on MacOS
Configure JRIVER with MERGING+NADAC on MacOS
- David Jacques
- sebastien chimenes (Unlicensed)
Owned by David Jacques
Last updated: Feb 19, 2018
Prerequisite
The MERGING+NADAC CoreAudio driver is installed and configured
JRiver Media Center is installed http://www.jriver.com/
Step-by-step guide
- Start JRiver Media Center
- Click on the Tools drop down menu, and select Options

- Under Audio Device, select MERGING + NADAC (Core Audio)
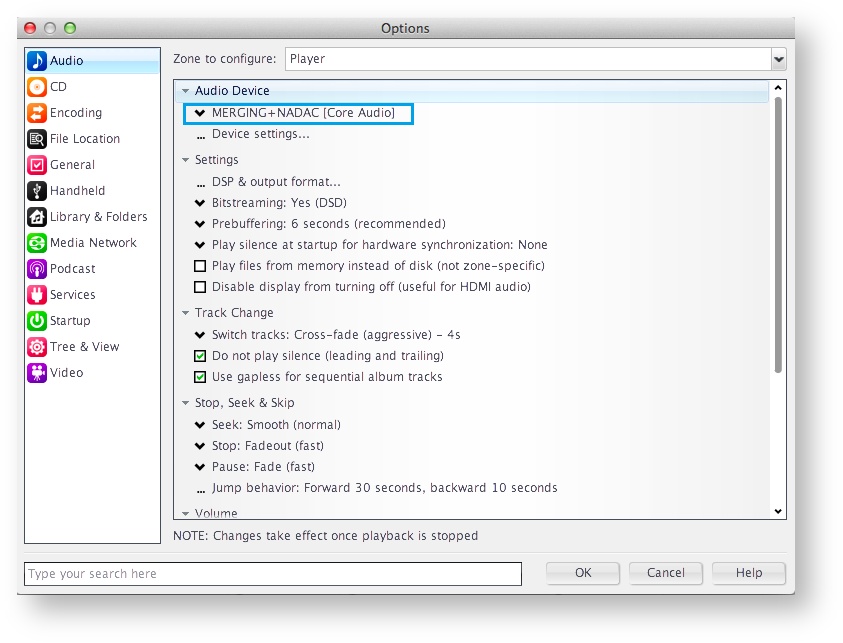
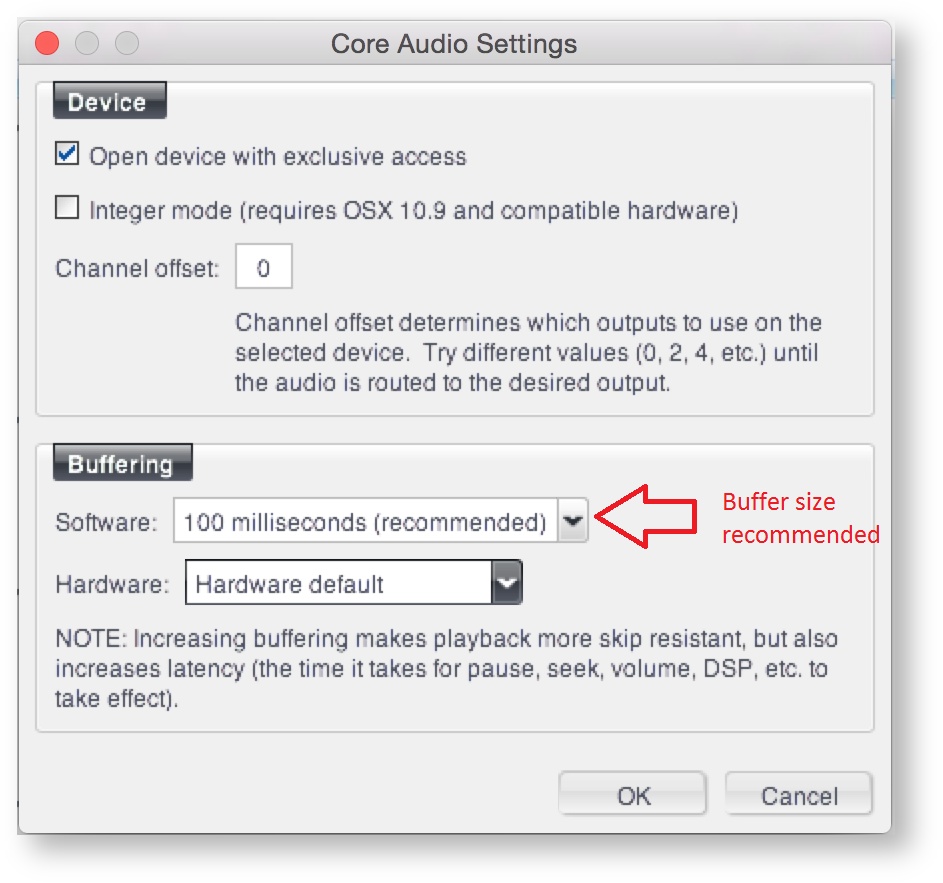
- Click on Device settings and under Buffering, set Software to 100ms(recommended).
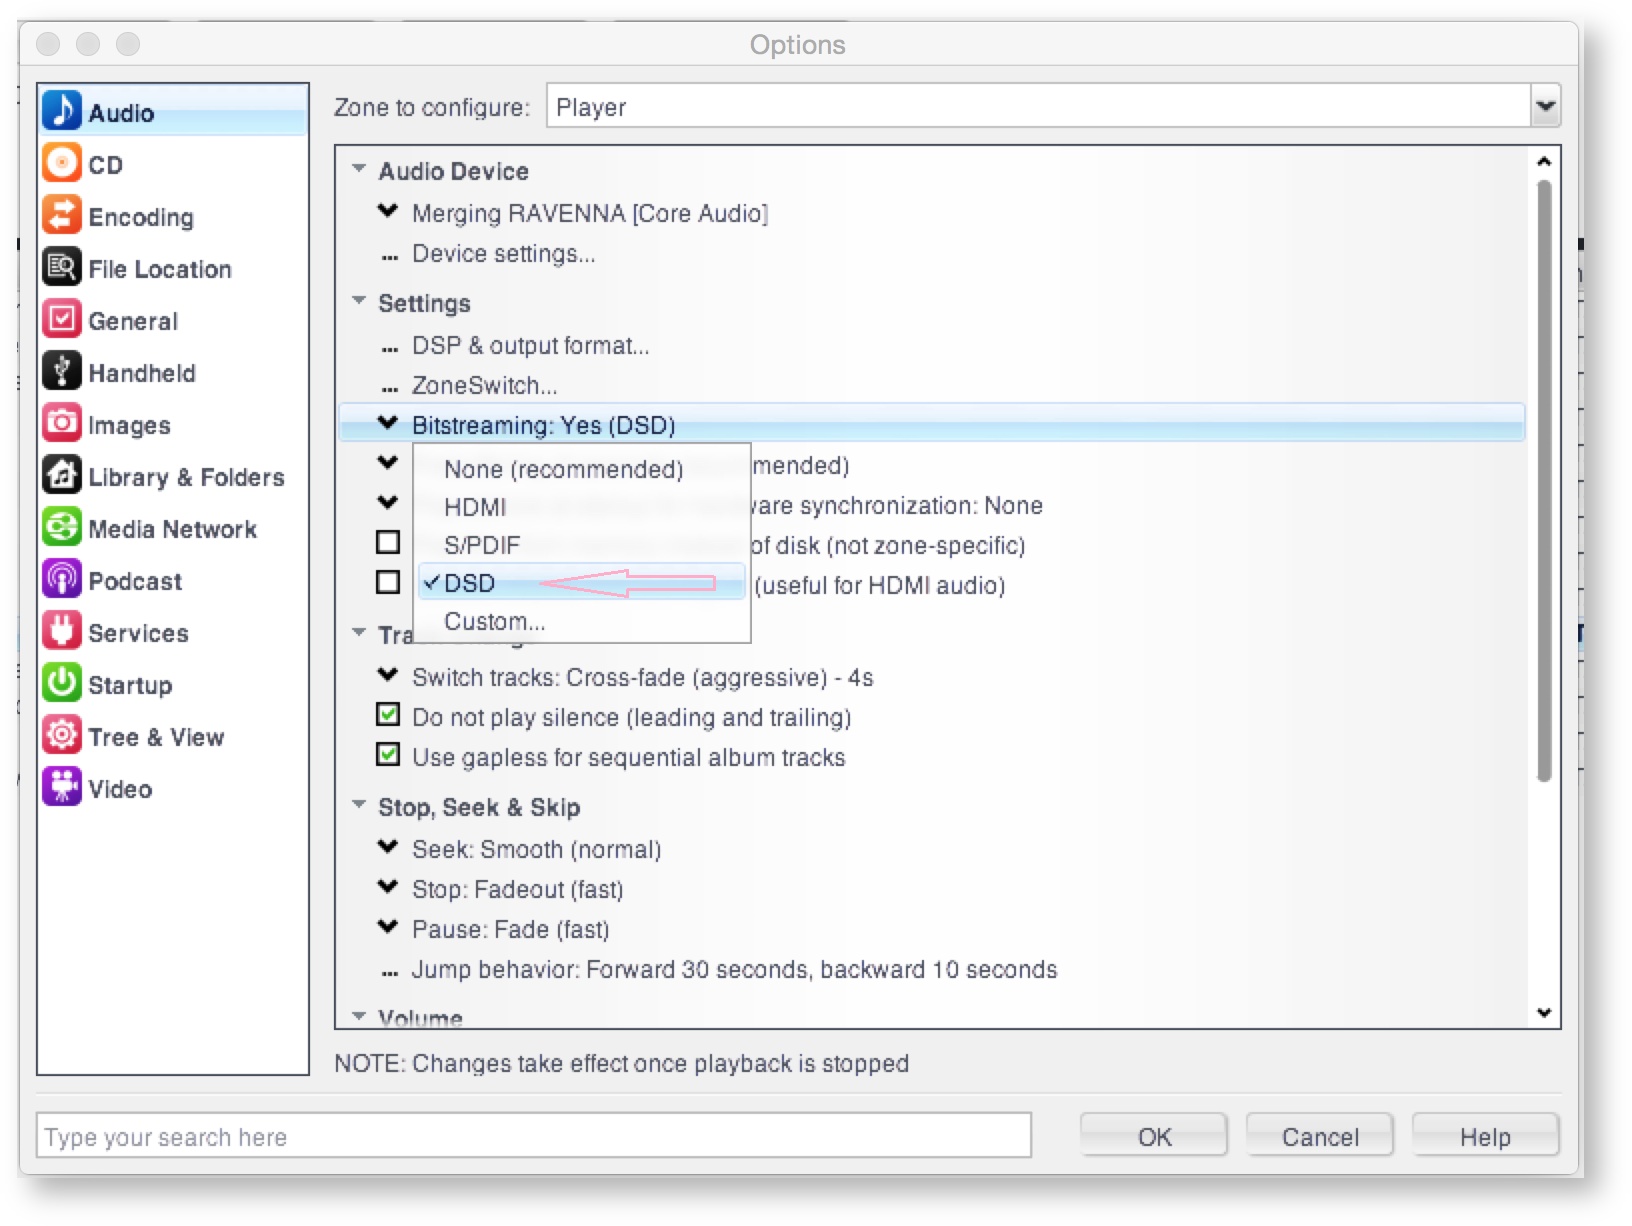
- Under Settings, in order to play DSD without conversion and get the best quality, select Bitstreaming:YES (DSD)
- Click on DSP & output format under Settings.
Set Output Encoding to None
In the Sampling rate table, set all Input sampling rates to No change, except for Less than 44,100 Hz, that should be set to 44,100 Hz.
Close this setting window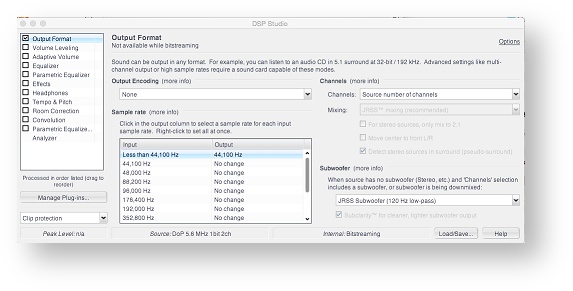
- Play a file :
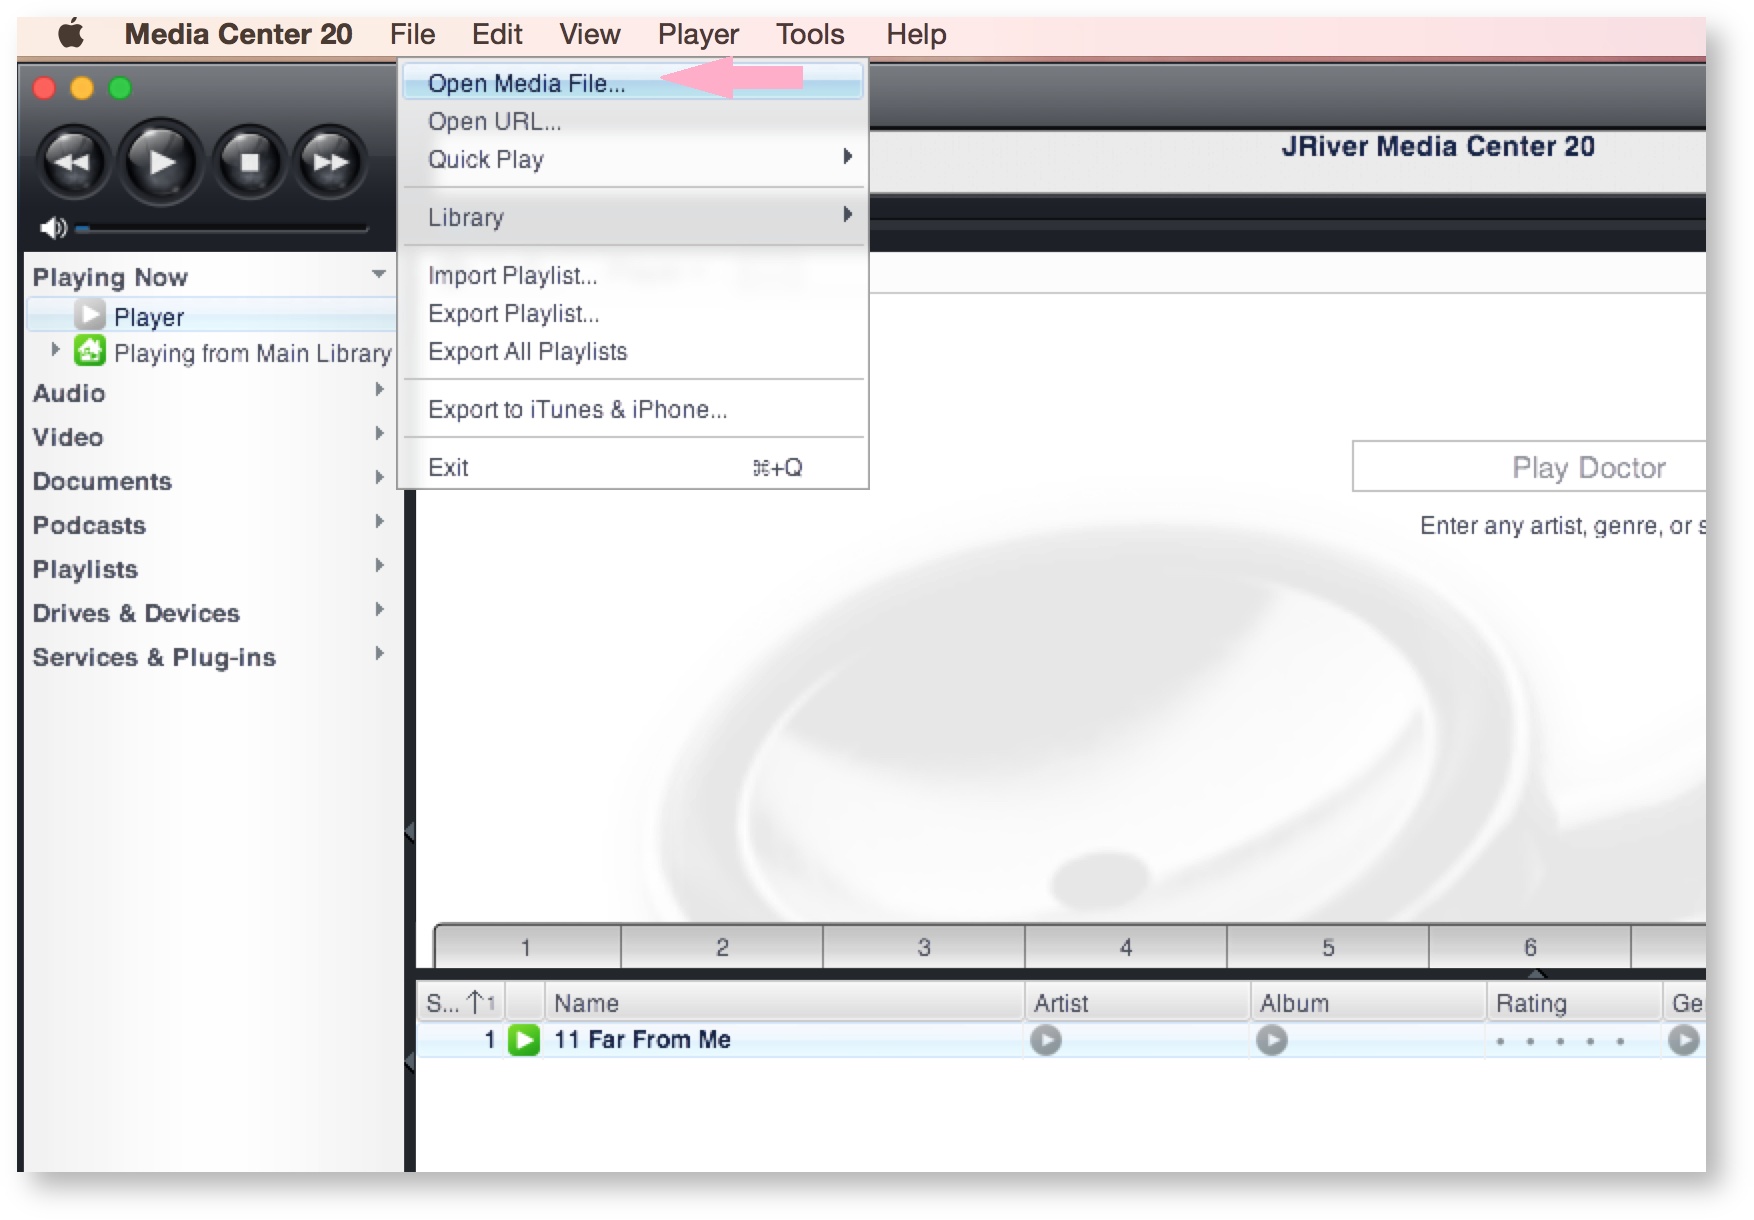
- Select your file:
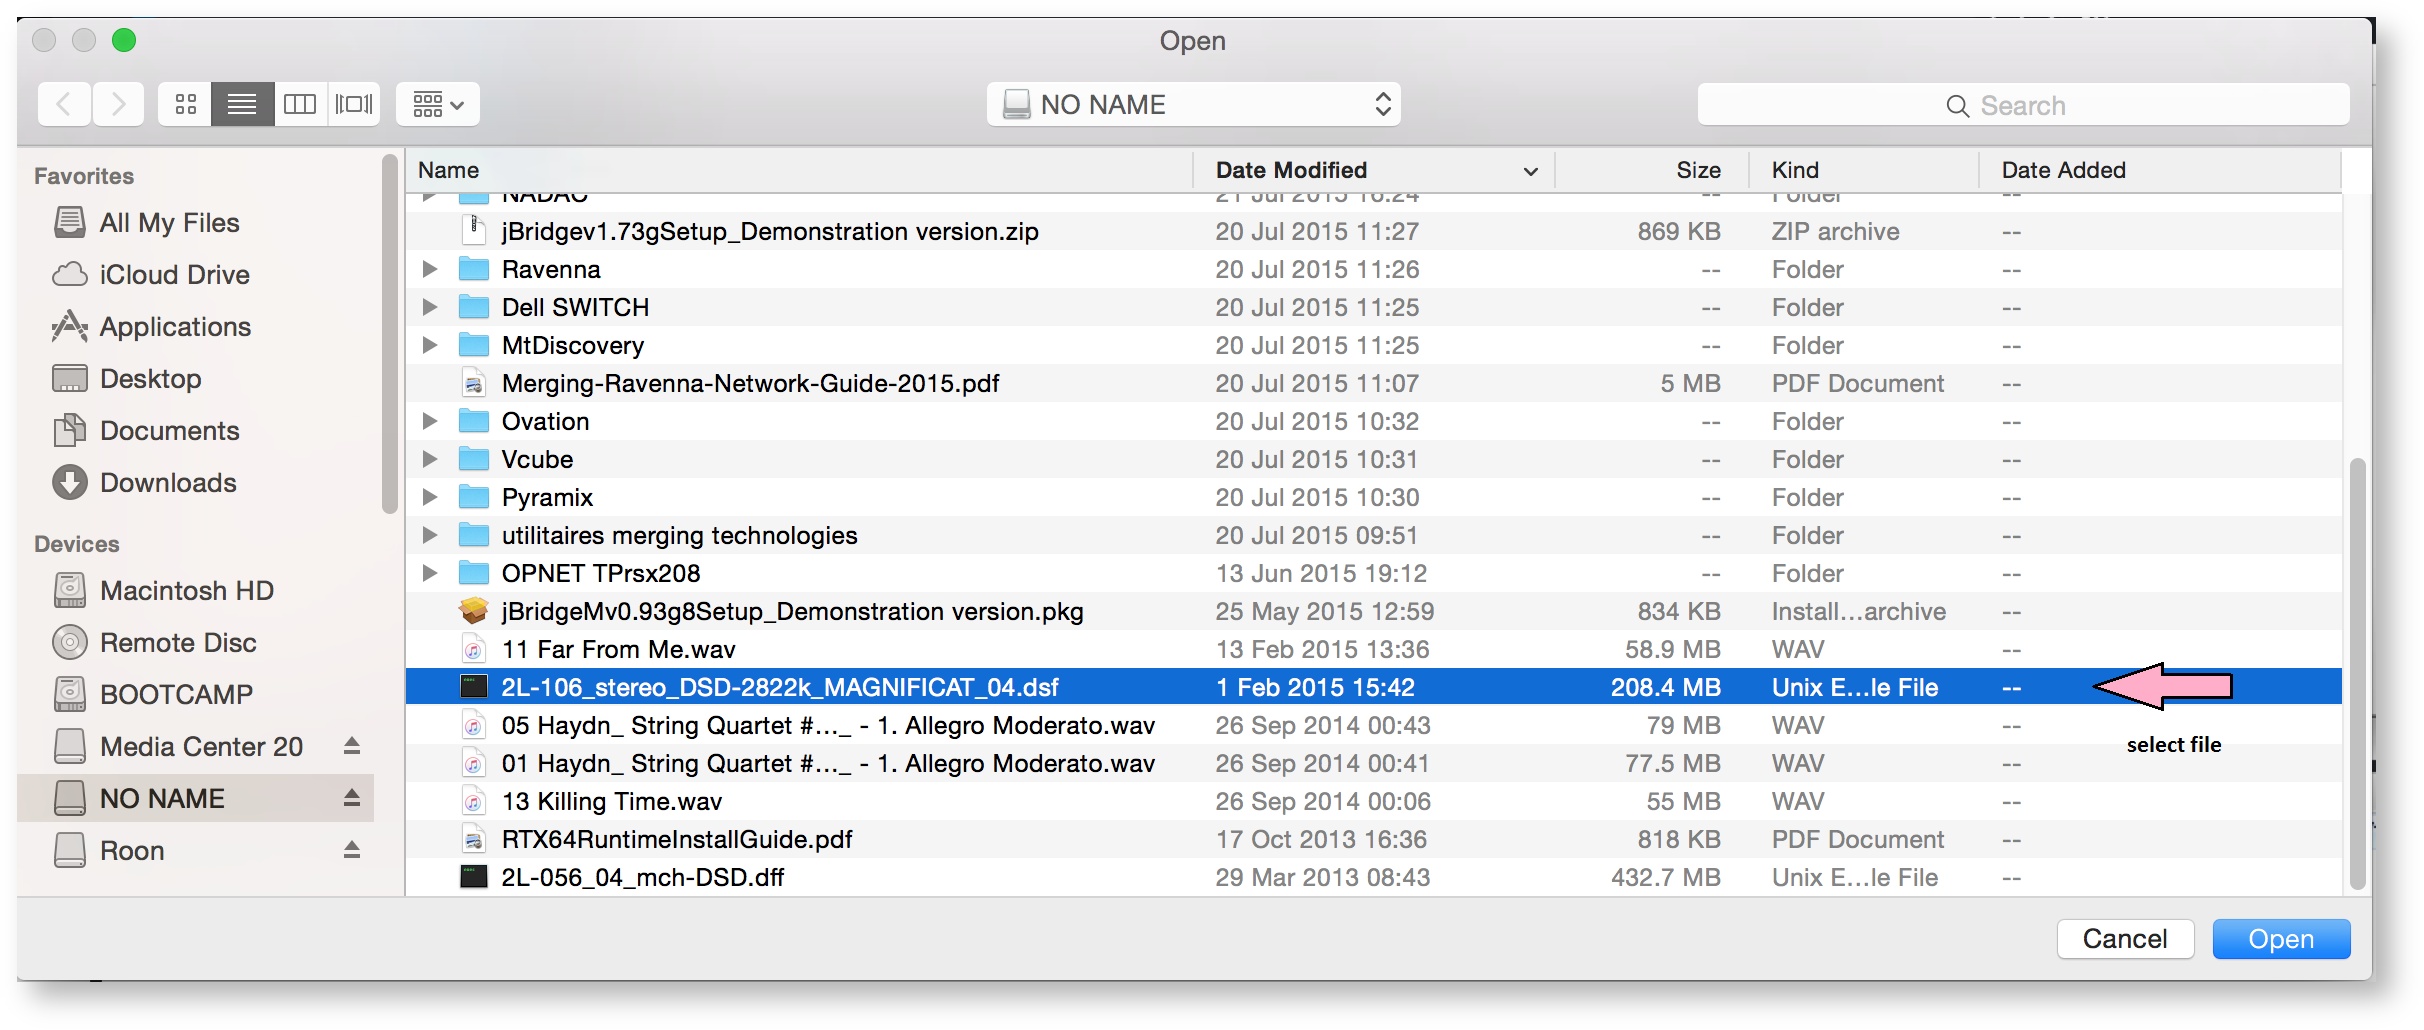
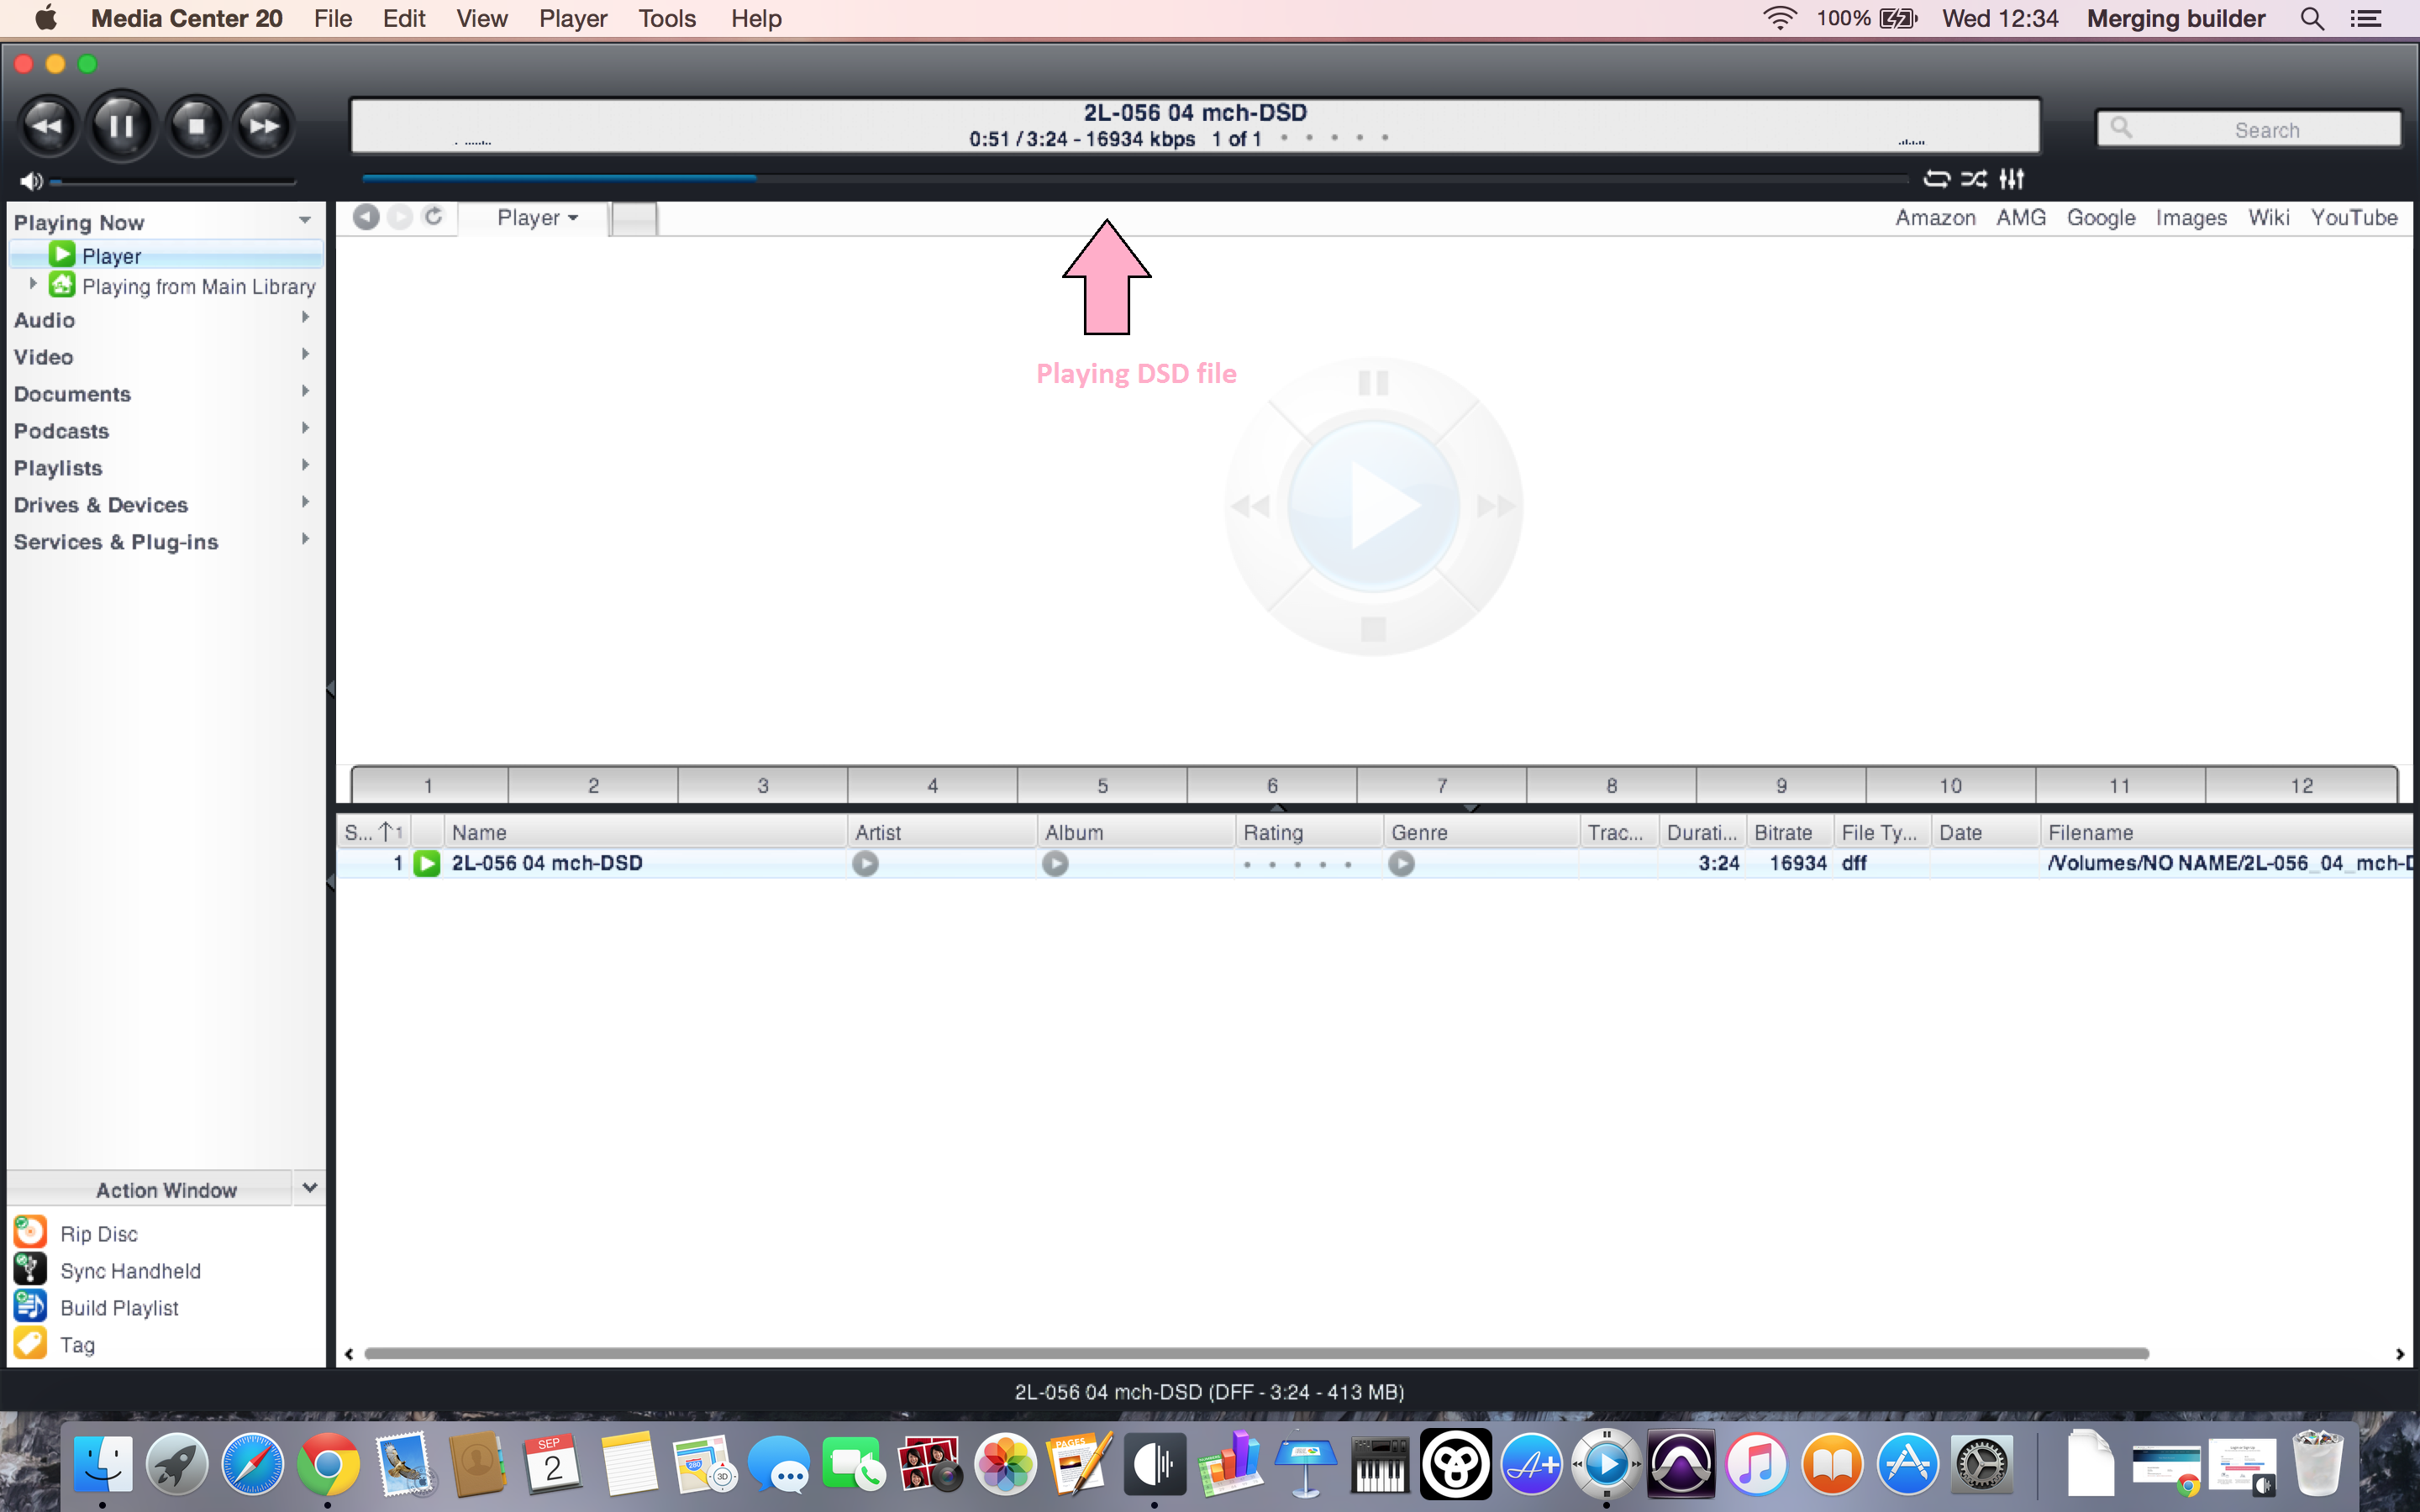
Playing:
Related articles
Related content
Merging Audio Device.
Merging Audio Device.
More like this
Antivirus and Merging Technologies Softwares
Antivirus and Merging Technologies Softwares
More like this
Merging Audio Devices Performances Debug.
Merging Audio Devices Performances Debug.
More like this
Merging License Manager (MLM).
Merging License Manager (MLM).
More like this